Wireguard VPN setup
In this tutorial we will setup a VPN (Virtual Private Network). There are multiple types of VPN, in this tutorial we will focus on "remote access VPN" type. We will configure server and client and test the connection.
WireGuard uses ChaCha20 Encryption Algorithm, it works with shorter cryptographic keys than AES-256, allowing for faster encryption and decryption.
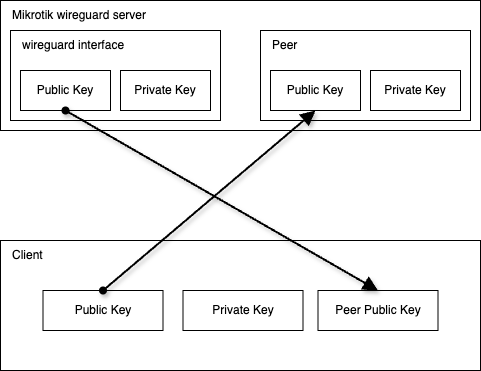
1 - The following diagram shows what we will do in the next steps:
- copy the generated public key from the mikrotik wireguard interface to the client peer public key field
- copy the generated client public key to the mikrotik wireguard peer public key field
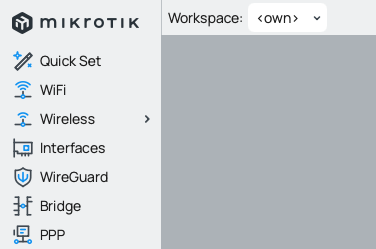
1.1 - Lets begin... first we need to open the wireguard setup menu
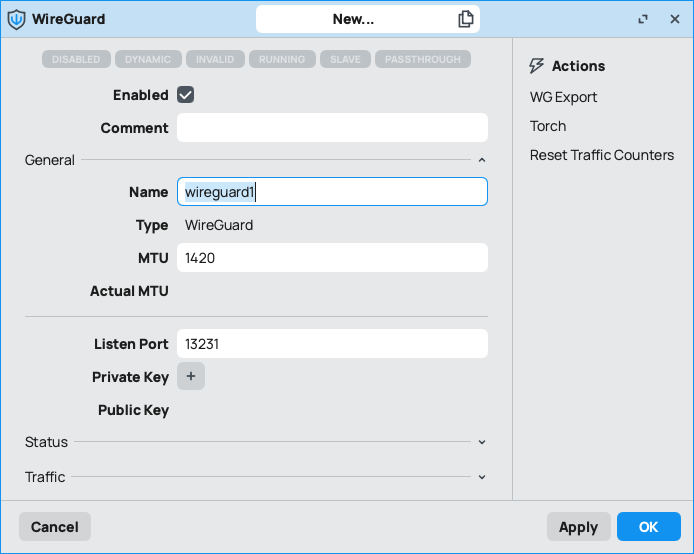
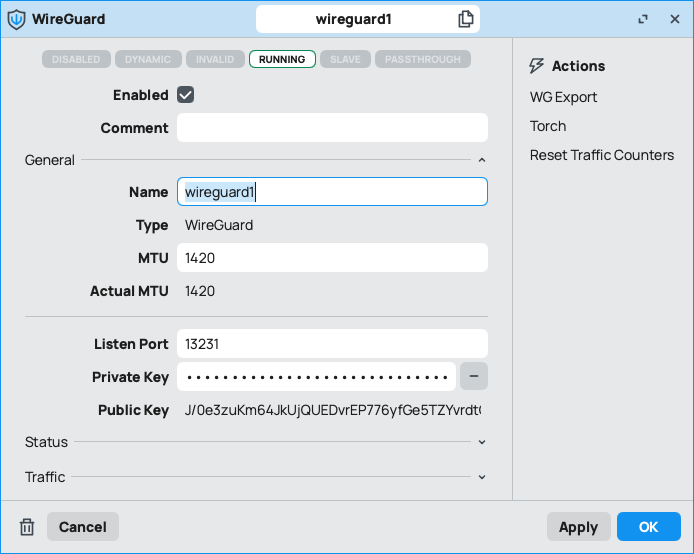
1.2 - Create a new interface

1.3 - setup the following fields:
- name
- listen port
at the end hit apply and the key pair will be generated
1.4 - here you can see the generated key pair
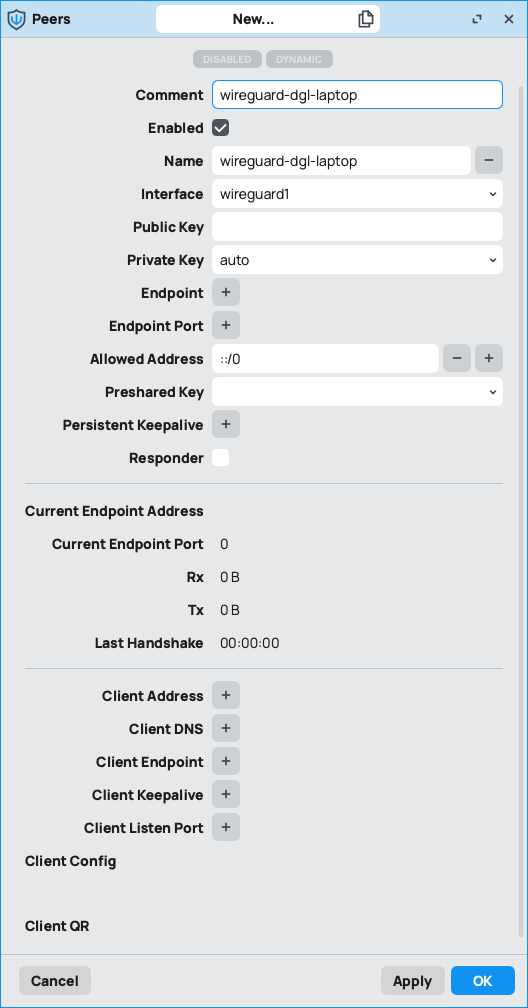
1.5 - Next we need to setup the peers (clients) access

1.6 - we need to set the following fields:
- comment (optional)
- name
- interface (created in step 1.3)
- private key auto
- allowed address 0.0.0.0/0 or ::/0 (default) to allow any, or define other
hit apply to set the peer configuration
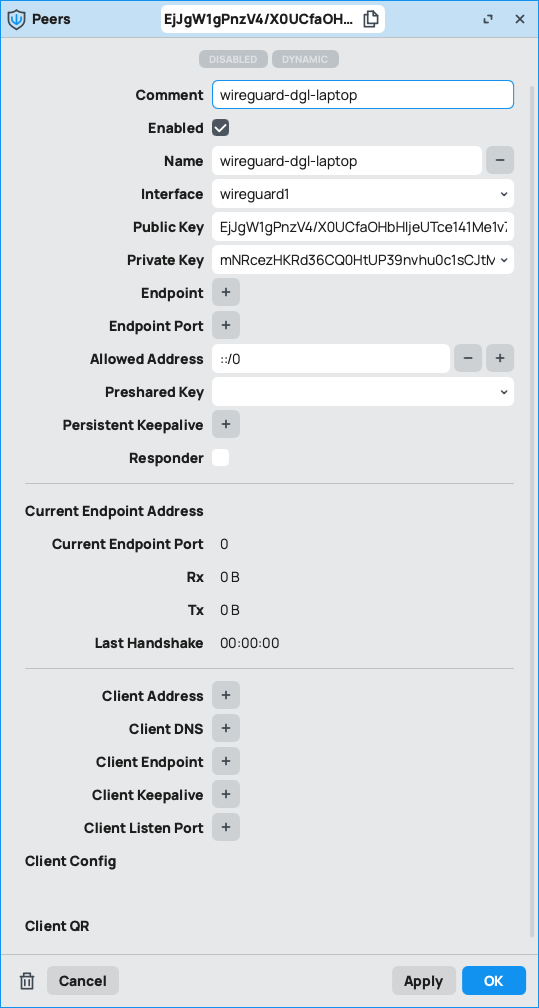
1.7 - now we can see the generated key pairs
2 - firewall setup
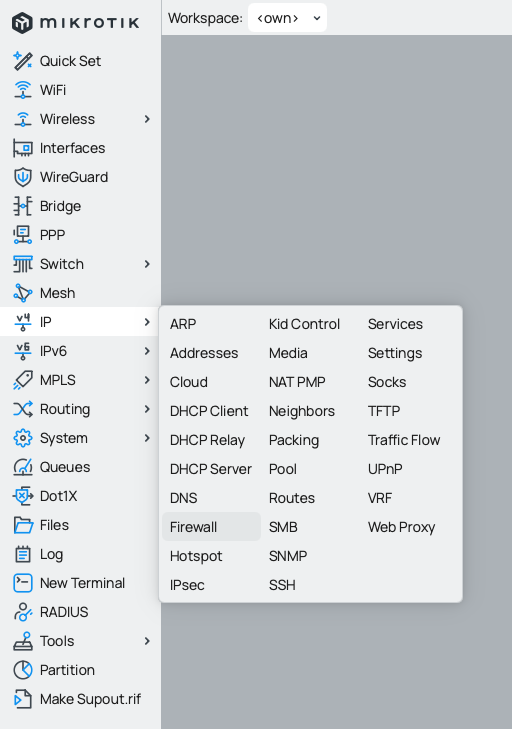
2.1 - open ip firewall configuration
2.2 - we need to open the wireguard UDP port to allow VPN traffic, go to filter rules and create a new one

2.3 - the new filter rule need the following information:
- chain: input
- protocol: UDP
- dst. port: 13231
- action: accept
- comment (optional)
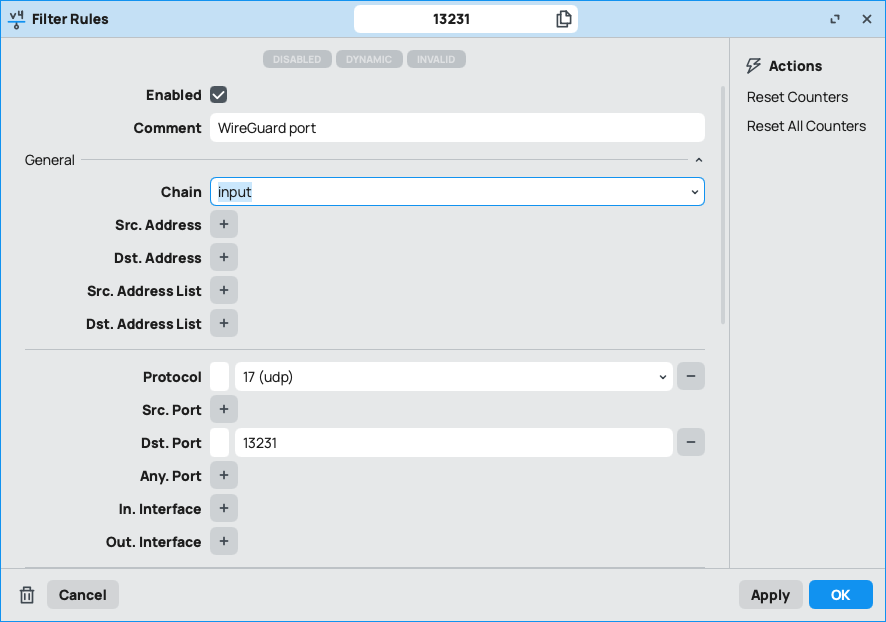
hit apply and OK or just OK to save the rule
you can also set this rule by CLI:
/ip firewall filter
add action=accept chain=input comment="WireGuard port" dst-port=13231 protocol=udp
2.4 - masquerade VPN traffic
go to firewall NAT settings

and add a new rule with the following information:
- chain: srcnat
-
src-address: 192.168.100.0/24
- action: masquerade
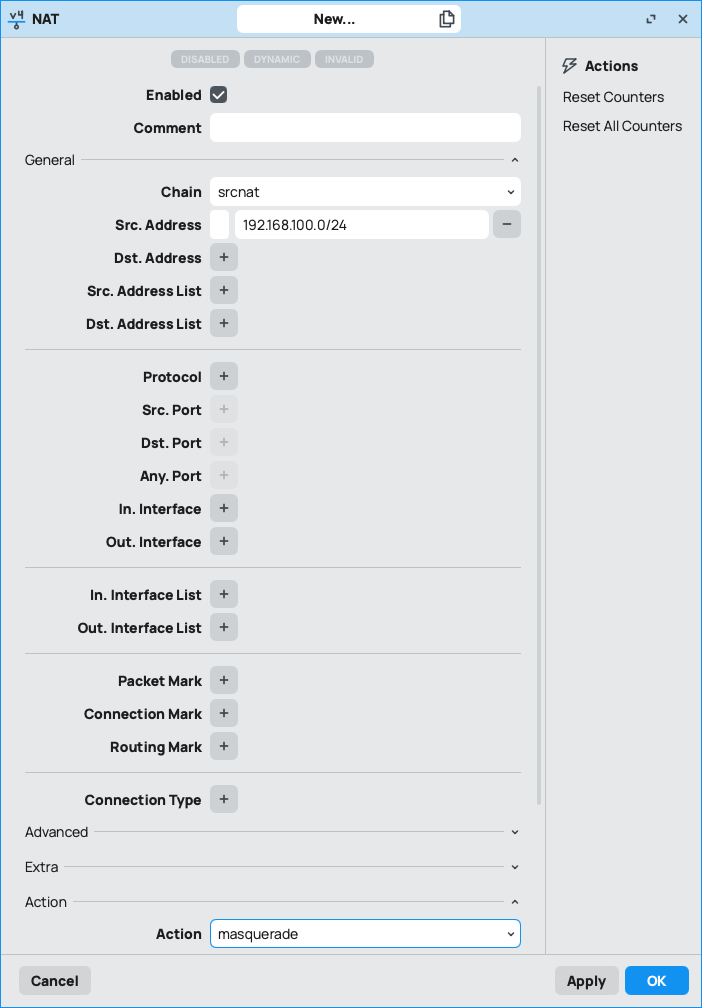
you can also add this rule by CLI:
/ip firewall nat
add action=masquerade chain=srcnat src-address=192.168.100.0/24
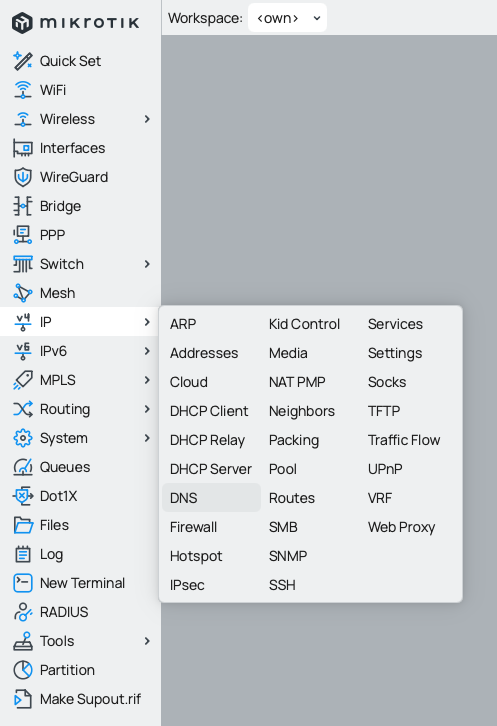
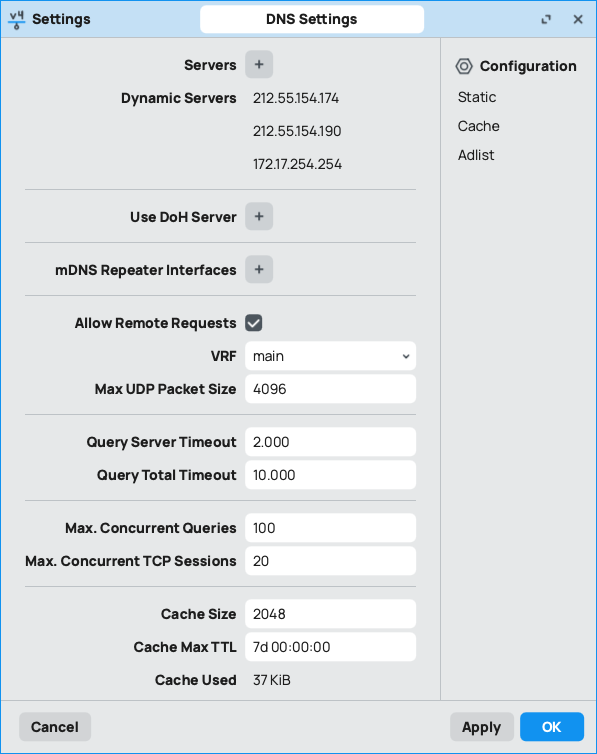
3 - dns setup
if you route all client traffic over the VPN, you might not have internet access, usually this is only a matter of DNS configuration
go to DNS configuration
then allow remote requests on your mikrotik like this:
2 - Setup MacOS wireguard client
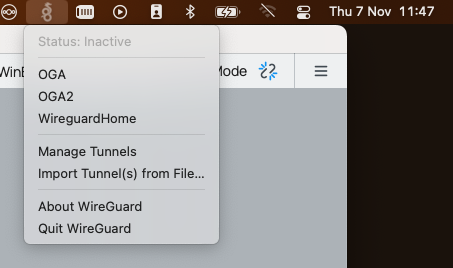
2.1 - On wireguard icon, choose "manage tunnels":
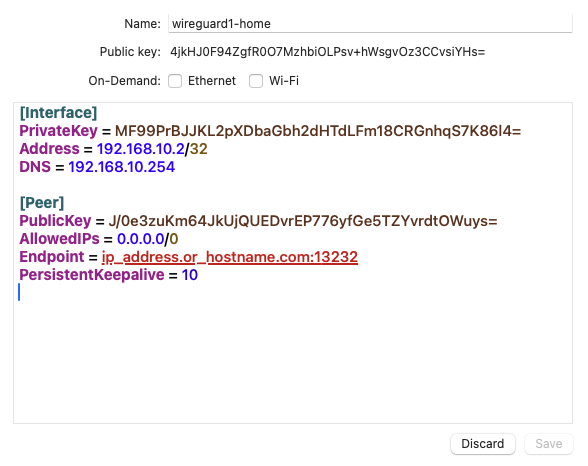
2.2 - set the following information:
- tunnel name
- address (set before on mikrotik)
- dns (usually the mikrotik wireguard interface address)
- peer public key (from wireguard interface public key info)
- allowed ips can set it to any (0.0.0.0/0) or define it to allow only your networks or hosts
- endpoint (is the public ip address or dns name of the wireguard server)
2.3 - now you can hit the connection name to connect
2.4 - as you can see, the vpn connection has been alive for 47 seconds

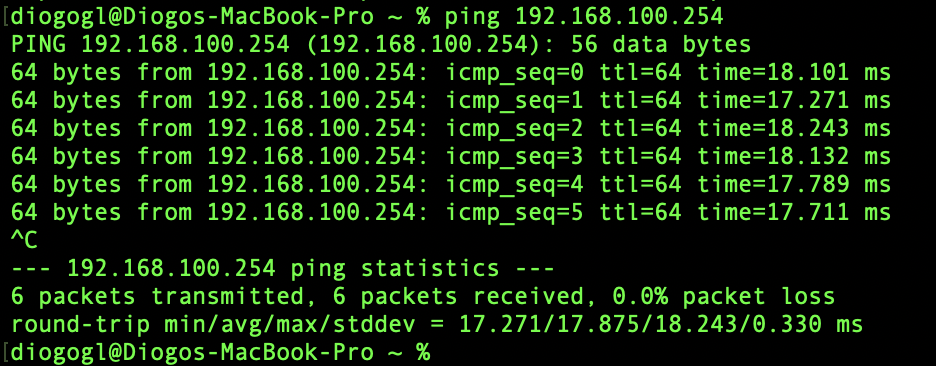
3 - testing
3.1 - ping test
One of the first tests you can do is to ping the server address 192.168.10.254, if successful, you can now ping other machines on your network